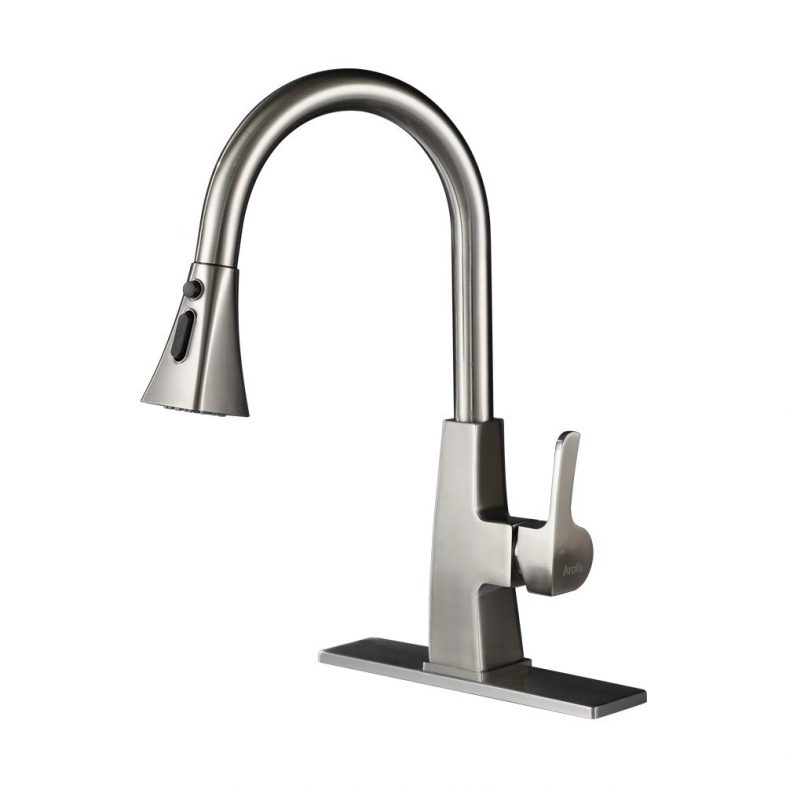
You want to know how to replace a kitchen faucet? This tutorial will also work with how to install a kitchen faucet too? First thing is first and that is to determine the type of faucet you need. Now with kitchen faucet being obvious choice. How many holes your sink has may not be obvious. Does your sink have 1 hole, 2 holes, 3 holes or possibly even 4 holes in the sink.
Tools and Supplies Needed:
- Adjustable Wrench
- Basin Wrench
- Small Bucket
- Putty Knife
- Kitchen Faucet
- Supply Hoses
- Caulk+Silicone
- White Teflon Tape
- How To Video to Replace Kitchen Faucet
1 hole sinks can accept a faucet that is mounted in a single center hole between two sinks or center of a single sink. This is a modern style faucet that has a valve as part of the base and a sprayer that pulls down. A 2 hole can accept a faucet with a pull down sprayer and separate handle. 3 hole sinks can accept any combination of the fore mentioned faucets where additional accessories can be used or separate sprayer. Some of these come with two separate handles, a faucet with pull down sprayer. A 4 hole sink can accept any combination of faucet and handles with additional accessories such as a soap dispenser.
Once you have determined that your choice faucet will work for your sink it is time to begin installing your faucet. Each faucet has it own set of instructions and this tutorial is meant to aide in the installation process. Since each faucet will have its own instructions we will tailor this tutorial for general installation. So let’s begin installing your new kitchen faucet.
First let’s turn the water off to both hot and cold water. Now your current faucet if you have one may or may not have shutoff valves under the sink. If you don’t have shutoffs under the sink then you will need to turn the main supply off at the water meter. However your application go ahead and turn the water off. If you don’t have shutoff valves under your sink now is a good time to install one for each side of the faucet.
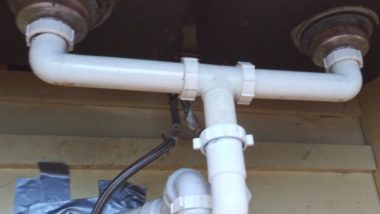
With the water turned off go ahead and remove the supply lines to the old faucet on the hot and cold water. You generally need an adjustable wrench to loosen the hoses but once they are loose then you can use just your fingers to remove them from the valve. You can then proceed to removing the hoses from each side of the faucet. Once you have removed the hoses completely set this aside as we will reuse them to connect the new faucet.
If you have a 3 hole sink then you will likely have 2 to 3 fastening points on the under sink side of the faucet. This is generally 2 plastic nuts that thread on the hot and cold. If you have a separate handle assembly for hot and cold then you will have another fastening point on the spigot as well. This can be a large brass nut that goes around the threaded base or it can be an all-thread with a mounting ring.
Remember as stated at the beginning that you can use different combinations of faucets. Some faucets work with 1, 2 or 3 hole sinks and others are designed to fit in a specific number of holes in a sink. After you have tightened up the nuts on your faucet you can begin to attach the supply hoses to the faucet. It is most common to have 1/2 inch connections to the faucet supply, however you can have a 3/8 connection as well.
If you have a 1/2 connection you can most likely reuse the hoses you removed during the removal process of the faucet. Now take the hoses and reattach them to the shutoff valves in the cabinet. Keep in mind that a general rule is the left valve is hot and the right valve is cold providing your plumbing was installed properly. Determine which of your hoses is connected to what side of the faucet. If you have a single faucet where everything fits through the center hole of the sink then most likely your supply lines are labeled to tell you which is which.
The last thing you will need to do is connect the sprayer if applicable to its supply hose of the faucet. There will be a 1 of 2 types of connections for the sprayer. One is a quick connect and the other is a pipe that you will connect to for the sprayer. If you have the 3/8 threaded line you will need to wrap it in Teflon tape to help seal the threads. You’re now ready to test the connections for water leaks so begin by turning the shutoff valves to the on position. If you find any leaks you will need to adjust or tighten the connects where it is leaking.
That is How You Replace a Kitchen Faucet