
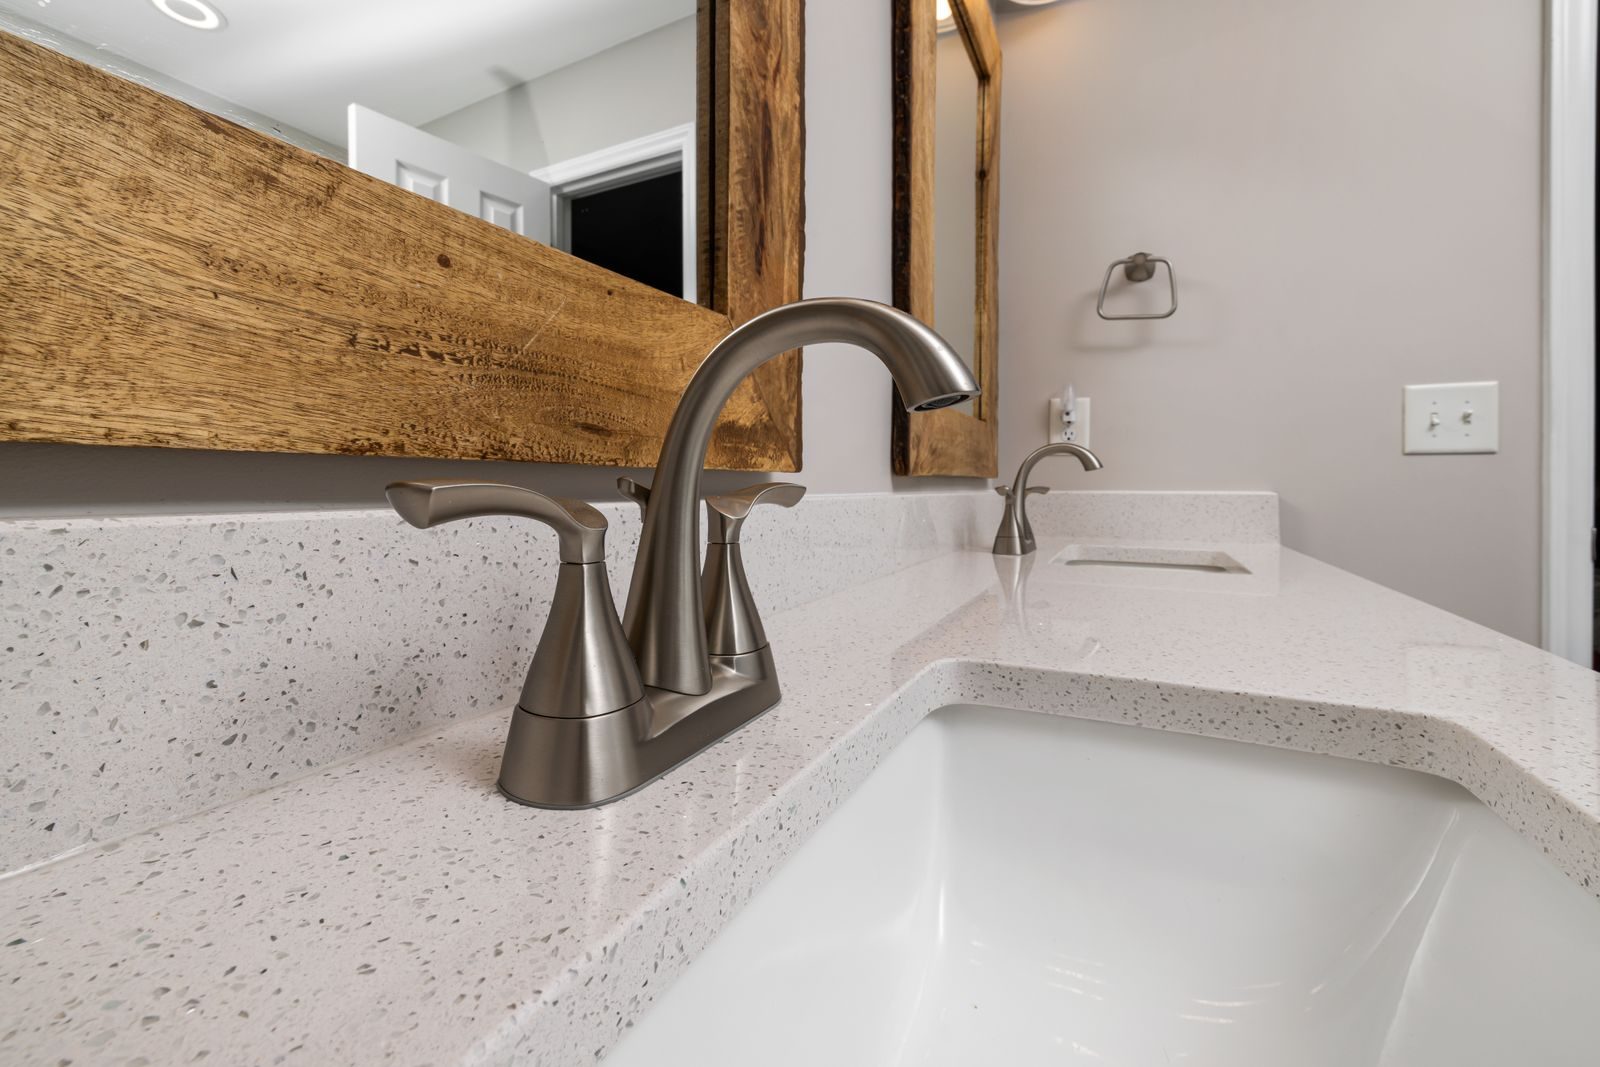
The bathroom faucet, often overlooked, plays a crucial role in both the aesthetics and functionality of your bathroom. Over time, even the most robust fixtures can succumb to wear and tear, leading to frustrating drips, unreliable handles, or simply an outdated look. If you’ve been grappling with a leaky faucet that won’t quit, an unsightly fixture, or just yearning for a refreshed bathroom aesthetic, the thought of replacing a bathroom faucet might seem daunting. However, with the right guidance, this DIY project is remarkably achievable, offering immediate gratification and saving you the cost of a professional plumber.
This comprehensive guide will equip you with the knowledge and confidence to tackle this project head-on. We’ll demystify the process, breaking down each step with expert advice, ensuring your new faucet installation is smooth, leak-free, and a source of pride. Get ready to transform your bathroom one turn of a wrench at a time.
Why Consider Replacing Your Bathroom Faucet? Beyond the Drip
While an incessant drip is often the primary motivator, there are several compelling reasons to consider upgrading your bathroom faucet:
-
- Leaks and Water Damage: A persistent drip isn’t just annoying; it can waste hundreds of gallons of water annually and lead to costly water damage to your vanity, subfloor, or even mold growth.
-
- Outdated Aesthetics: Faucets, like any other fixture, can date a bathroom. A modern, stylish faucet can instantly uplift the entire room’s appearance without a full renovation.
-
- Improved Functionality: Newer faucets often feature better water flow, more precise temperature control, and easier-to-use handles. Some even offer touchless technology for enhanced hygiene.
-
- Energy and Water Efficiency: Many contemporary faucets are designed to be WaterSense® certified, meaning they use less water without sacrificing performance, contributing to lower utility bills.
-
- Mineral Buildup and Corrosion: Hard water can lead to mineral deposits that clog aerators and corrode internal components, affecting water pressure and faucet lifespan.
Understanding these benefits underscores the value of proactively replacing a bathroom faucet rather than waiting for a catastrophic failure.
Your Toolkit for Success: Materials, Parts, and Tools for Replacing a Bathroom Faucet
Before you dive in, gathering all necessary items is paramount. A well-prepared workspace prevents frustrating pauses and ensures a smoother installation. Here’s what you’ll need:
Tools Required:
-
- Adjustable Wrenches (2 recommended): For loosening and tightening supply lines and mounting nuts. Having two helps with counter-holding.
-
- Basin Wrench: This specialized tool is your best friend for reaching awkwardly placed mounting nuts under the sink. It’s a game-changer.
-
- Pliers (Channel Locks or Tongue-and-Groove): Useful for various gripping tasks.
-
- Screwdrivers (Phillips and Flathead): For removing drain stoppers or securing certain faucet components.
-
- Utility Knife or Putty Knife: For scraping old caulk or plumber’s putty.
-
- Bucket and Rags/Towels: To catch residual water and clean up spills.
-
- Headlamp or Flashlight: The underside of a sink can be a dark place.
-
- Safety Glasses: Always protect your eyes from debris or drips.
-
- Wire Brush (optional): For thoroughly cleaning the sink surface.
Materials and Parts:
-
- New Bathroom Faucet: Ensure it matches your sink’s hole configuration (single-hole, 4-inch centerset, or 8-inch widespread).
-
- New Supply Lines (Braided Stainless Steel Recommended): While some faucets come with them, it’s often wise to replace old, brittle supply lines with new, flexible braided stainless steel ones for durability and ease of installation. Check the length and thread size (typically 3/8″ compression on the faucet side, and 1/2″ or 3/8″ on the shut-off valve side).
-
- Plumber’s Putty or Silicone Caulk: Used to create a watertight seal around the base of the faucet and the drain assembly. Follow your new faucet’s instructions; some designs require caulk over putty.
-
- Thread Seal Tape (Teflon Tape): For sealing threaded connections on supply lines and drain pipes, preventing leaks.
-
- Non-abrasive Cleaner: For cleaning the sink deck before new faucet installation.
-
- Gloves: To protect your hands.
The Definitive Guide to Seamlessly Replacing a Bathroom Faucet
With your tools and materials ready, let’s break down the process into manageable steps. Patience and attention to detail are your greatest assets here.
Step 1: Preparation is Key – Shutting Off Water and Clearing the Area
-
- Turn Off the Water Supply: Locate the two shut-off valves directly underneath your sink – one for hot water, one for cold. Turn them clockwise until they are snug and the water flow is completely stopped. If you don’t have individual shut-off valves under the sink, you’ll need to turn off the main water supply to your house.
-
- Drain Residual Water: Turn on the old faucet to relieve any remaining pressure in the lines and drain out any water left in the pipes. Place your bucket under the pipes to catch drips when you disconnect them.
-
- Clear the Workspace: Remove everything from under the sink, including cleaning supplies, toiletries, and any obstructions, to give yourself ample room to work. Lay down towels or a drop cloth to protect the cabinet base.
Step 2: Disconnecting the Old Faucet – A Delicate Operation
-
- Disconnect Supply Lines: Using your adjustable wrench, loosen the nuts connecting the hot and cold water supply lines to the underside of the old faucet. Have your bucket ready, as some water will likely spill out. Detach them from the shut-off valves as well.
-
- Remove the Drain Stopper Assembly: This often involves unscrewing a clevis screw that connects the lift rod to the horizontal rod, and then removing the pivot nut from the back of the drain. Carefully slide out the horizontal rod and pull the stopper out from the top of the sink.
-
- Loosen Mounting Nuts: This is where your basin wrench shines. Reach up under the sink and locate the large mounting nuts or clips that secure the faucet to the countertop. Turn them counter-clockwise until they are loose enough to remove by hand. Be prepared for some rust or corrosion, which might require extra effort or a penetrating lubricant.
-
- Remove the Old Faucet: Once all connections are loose, lift the old faucet straight up from the top of the sink. If it’s sealed with old caulk or plumber’s putty, you might need to gently pry it up with a utility knife or flathead screwdriver.
Step 3: Prepping the Sink Surface – Clean Slate for a New Beginning
-
- Clean the Sink Deck: With the old faucet removed, you’ll likely find a residue of old plumber’s putty, caulk, grime, and mineral deposits. Use a putty knife or utility knife to scrape away as much as possible, then clean the area thoroughly with a non-abrasive bathroom cleaner. A wire brush can help with stubborn residue. A clean, smooth surface is essential for a watertight seal with your new faucet.
-
- Inspect the Holes: Ensure the mounting holes are clean and clear of any debris.
Step 4: Installing Your New Bathroom Faucet – Precision and Care
This stage is essentially the reverse of removal, but with new components and fresh seals.
-
- Install the New Gaskets/Putty: Most new faucets come with rubber gaskets that sit between the faucet base and the sink. If your faucet instructions call for plumber’s putty instead of a gasket (or in addition to it for the drain assembly), roll a rope of putty about 1/2 inch thick and place it around the perimeter of the faucet base where it meets the sink.
-
- Mount the Faucet: Carefully lower the new faucet into the holes from above the sink, making sure it’s oriented correctly.
-
- Secure from Below: From underneath the sink, attach the washer(s) and mounting nuts/plate supplied with your new faucet. Hand-tighten them first, then use your basin wrench or adjustable wrench to tighten them snugly. Do not overtighten, as this can crack porcelain or damage the faucet base. Just make it firm and secure.
-
- Attach New Supply Lines: Wrap thread seal tape (Teflon tape) clockwise around the threaded inlets on the bottom of the new faucet. Then, connect your new supply lines to the faucet inlets. Hand-tighten, then give them another quarter to half turn with an adjustable wrench. Connect the other ends of the supply lines to the hot and cold shut-off valves, applying thread seal tape to the valve threads as well. Ensure hot connects to hot and cold to cold.
-
- Install the Drain Stopper Assembly: Follow your new faucet’s specific instructions for the drain stopper. This typically involves inserting the drain body into the sink drain hole, applying plumber’s putty or a gasket around its rim from above, and then tightening a large nut from below to secure it. Connect the pivot rod and lift rod according to the manufacturer’s diagram, ensuring the stopper operates smoothly.
Step 5: Final Checks and Testing – The Moment of Truth
-
- Turn On the Water: Slowly turn the hot and cold shut-off valves counter-clockwise to restore the water supply. Watch carefully for any immediate leaks.
-
- Check for Leaks: Open the new faucet handles to run both hot and cold water at full pressure. Let the water run for a few minutes. While it’s running, thoroughly inspect all connections you made under the sink – faucet supply lines, drain assembly, and shut-off valves. Feel for moisture with your fingers and look for drips. Tighten any weeping connections slightly.
-
- Check Aerator: Ensure water flow is smooth and consistent. If it splutters, remove the aerator (the screen at the spout’s tip) and clean it, as debris from the pipes can sometimes get caught.
-
- Verify Stopper Operation: Make sure your new drain stopper lifts and closes correctly, forming a tight seal when closed.
Expert Tip: When tightening any nuts or connections, remember the mantra: “Snug, not Hercules.” Overtightening can strip threads, crack pipes, or damage plastic components, leading to far worse leaks than you started with.
Troubleshooting Common Issues When Replacing a Bathroom Faucet
Even with careful execution, hiccups can occur. Here are some common problems and their solutions:
| Problem | Potential Cause(s) | Solution |
|---|---|---|
| Persistent Leak at Supply Lines | Loose connection, missing/improper thread seal tape, damaged washer. | Tighten connection slightly. Disassemble, reapply fresh thread seal tape clockwise, and re-tighten. Check for damaged washers inside connections. |
| Leak at Faucet Base | Improperly applied plumber’s putty/gasket, mounting nuts too loose. | Ensure mounting nuts are snug. If using putty, you may need to remove the faucet, clean, and reapply fresh putty, ensuring full coverage. If a gasket, ensure it’s seated correctly. |
| Low Water Pressure / No Water | Shut-off valves not fully open, aerator clogged, supply lines kinked. | Ensure both hot and cold shut-off valves are fully open. Remove and clean the faucet aerator. Check supply lines for kinks or bends. |
| Drain Stopper Not Sealing | Improperly installed drain assembly, pivot rod not adjusted correctly. | Review faucet instructions for drain assembly. Adjust the pivot rod and clevis screw to ensure the stopper descends fully and seals. Check plumber’s putty/gasket on drain flange. |
| Tight Spaces / Difficult Access | Common issue with small vanities or deep sinks. | Utilize a basin wrench. Consider removing cabinet doors for better access. If space is truly impossible, it might be time to call a professional. |
Most issues arise from either a loose connection or an improperly sealed joint. A methodical approach to re-checking each step usually uncovers the culprit.
Conclusion: Your Bathroom, Rejuvenated
Congratulations! By successfully replacing a bathroom faucet yourself, you’ve not only saved money but also gained valuable DIY experience and enhanced the functionality and aesthetics of your bathroom. This project, while requiring precision and patience, is a testament to what you can achieve with the right guidance and a willingness to learn.
Enjoy your new, drip-free, and stylish faucet. Remember, regular maintenance, such as occasional aerator cleaning, will keep your new fixture performing optimally for years to come. Now that you’ve mastered this essential plumbing task, what other home improvements are on your horizon? Keep building your skills, one successful project at a time.
Frequently Asked Questions (FAQs) About Replacing a Bathroom Faucet
Q1: How long does it typically take to replace a bathroom faucet?
A: For a DIY enthusiast with basic experience, replacing a bathroom faucet typically takes 1 to 3 hours. This can vary depending on the accessibility under your sink, the condition of the old faucet (e.g., rust, corrosion), and whether you encounter any unexpected issues.
Q2: Do I need to replace the supply lines when I replace my faucet?
A: While not always strictly necessary if your existing lines are in perfect condition, it’s highly recommended to replace old supply lines with new braided stainless steel ones. Old rubber or plastic lines can become brittle over time and are prone to bursting, leading to significant water damage. New braided lines offer superior durability and peace of mind.
Q3: What’s the difference between plumber’s putty and silicone caulk for sealing the faucet base?
A: Plumber’s putty is a pliable, oil-based compound that stays soft and allows for disassembly in the future. It’s ideal for sealing the base of faucets and drain assemblies on porous surfaces like natural stone or solid surface materials, where silicone might stain or cure permanently. Silicone caulk provides a stronger, more permanent, and typically more watertight seal, especially on non-porous surfaces like porcelain or cultured marble. Always check your new faucet’s instructions; some manufacturers specify one over the other, or provide a gasket eliminating the need for either.
Q4: My new faucet doesn’t come with a drain assembly. Can I reuse my old one?
A: It’s generally advisable to use the drain assembly that comes with your new faucet, as they are designed to work together seamlessly in terms of finish, fit, and operation. If your new faucet doesn’t include one, you’ll need to purchase a compatible drain assembly separately. Reusing an old one might lead to aesthetic mismatches or functional problems if it’s not compatible.
Q5: What should I do if the old mounting nuts are corroded and won’t budge?
A: Corroded nuts are a common challenge. First, apply a penetrating lubricant (like WD-40 or similar) and let it sit for 15-30 minutes. Try again with your basin wrench, applying steady, firm pressure. If they still won’t budge, you might need to use a small hacksaw or a rotary tool with a cutting wheel to carefully cut through the nuts or the faucet shank. Exercise extreme caution to avoid damaging the sink or cabinet during this process.
